How can I properly update the BIOS on an ASUS motherboard, and what should I do if the system does not boot after the update?
1 Views
Before updating the BIOS, it is important to accurately identify your motherboard model and download the firmware only from the official ASUS website.
The downloaded file should be renamed to the format required by ASUS (for example, ASUS.CAP for many models) and saved to a USB flash drive formatted in FAT32.
ASUS provides several ways to update the BIOS:
via the built-in EZ Flash utility in the BIOS menu;
using USB BIOS Flashback, if the motherboard supports this feature;
through the AI Suite program in Windows (a less reliable option, but available).
It is recommended to update the BIOS only via EZ Flash or Flashback, as this minimizes the risk of errors. During the update, the power must not be turned off, as this can damage the BIOS bootloader.
If the system does not boot after the update, follow these steps:
Reset the BIOS settings — turn off the PC, remove the CMOS battery for 10–15 seconds, or use the CLR_CMOS jumper.
Try booting with a minimal configuration: one RAM module, no discrete graphics card (if integrated graphics are available), and no additional storage devices.
If the motherboard supports USB BIOS Flashback, reflash the BIOS — even if the system does not start. This is one of the most reliable recovery methods.
Make sure the firmware truly matches your motherboard model — an incompatible version can completely block system startup.
If, after all these steps, the motherboard still shows no signs of life, the BIOS chip may be damaged and professional service recovery will be required.
This sequence helps safely update the BIOS and restore system functionality if the update fails.
I am using an Asus GA403 HX370 ROG laptop, and for about one week, I have been experiencing serious stability problems. ...While using Photoshop or DaVinci, I frequently get Photoshop GPU errors, and then the system crashes with BSOD errors such as ACPI_BIOS_ERROR and VIDEO_TDR_FAILURE. These crashes h
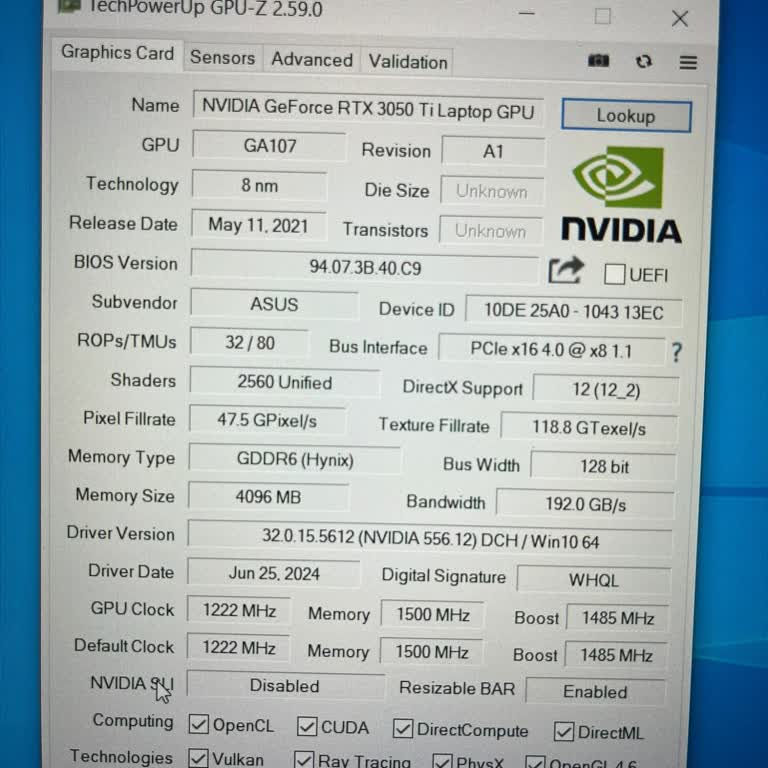
Asus's official application, "MyAsus," updated all the drivers and applications of my FX506HEB model gaming laptop as pa...rt of its function, including the GPU's VBIOS file. Up to this point, everything was normal. However, after the GPU VBIOS update, the gaming performance of the computer completely
Since purchasing my Asus X415M laptop, I've been dealing with frustrating freezing issues. I've had this laptop for just... a few months, but I'm still dealing with freezing problems. It's like a total emergency, you know? I really need a solution to this problem right away.
My motherboard recently faced issues, underwent repair at your service, but the problems persist. After receiving the pr...oduct, I encountered CPU visibility problems, freezing, and even RAM errors. Seeking clarity, I tested different hardware with an ASUS ROG Crosshair Dark Hero motherboard, encounte